Sunday, 8 August 2021

Bubble Bobble repair log and 'PS4' custom MCU reproduction

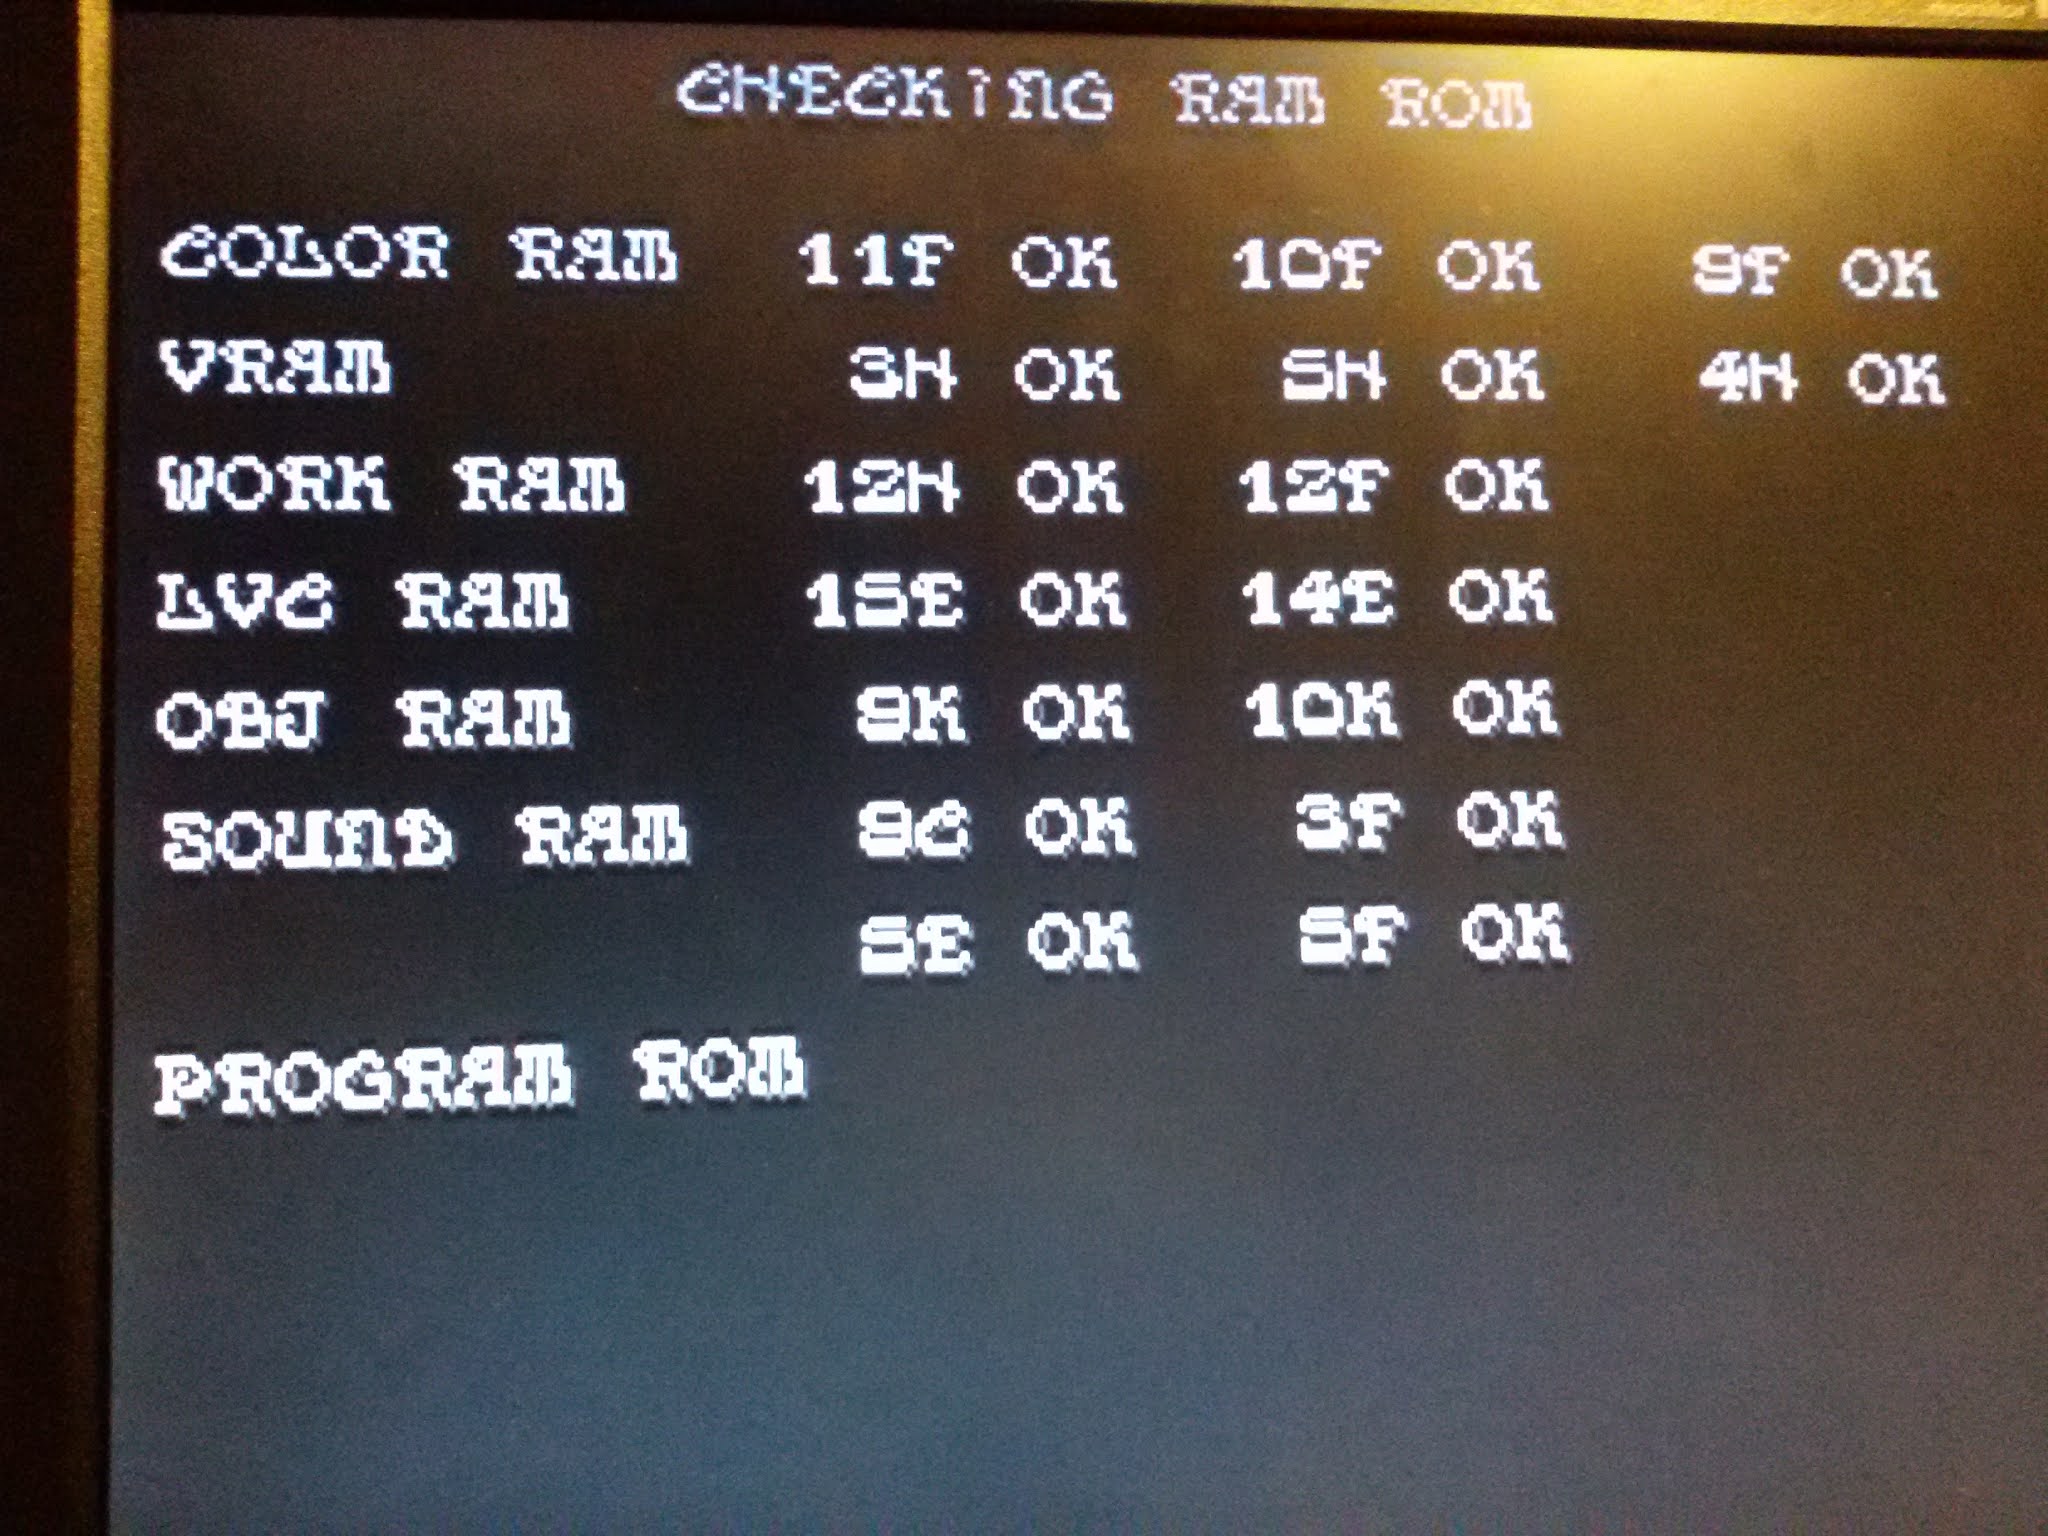
Who among you does not know and has never played Bubble Bobble in his arcade life? Personally I love this game and I was looking for an original board since ages but never been lucky to get one so I always ended up settling for bootlegs.But recently I spotted on eBay a legit PCB from Taito.The description said the board was in good condition but not working due to missing security chip.Despite this I made some bids and won the auction (final price was not really cheap though...).When I received the board there were no surprises to me, the chip @IC17 on top board was missing hence the PCB was dead :

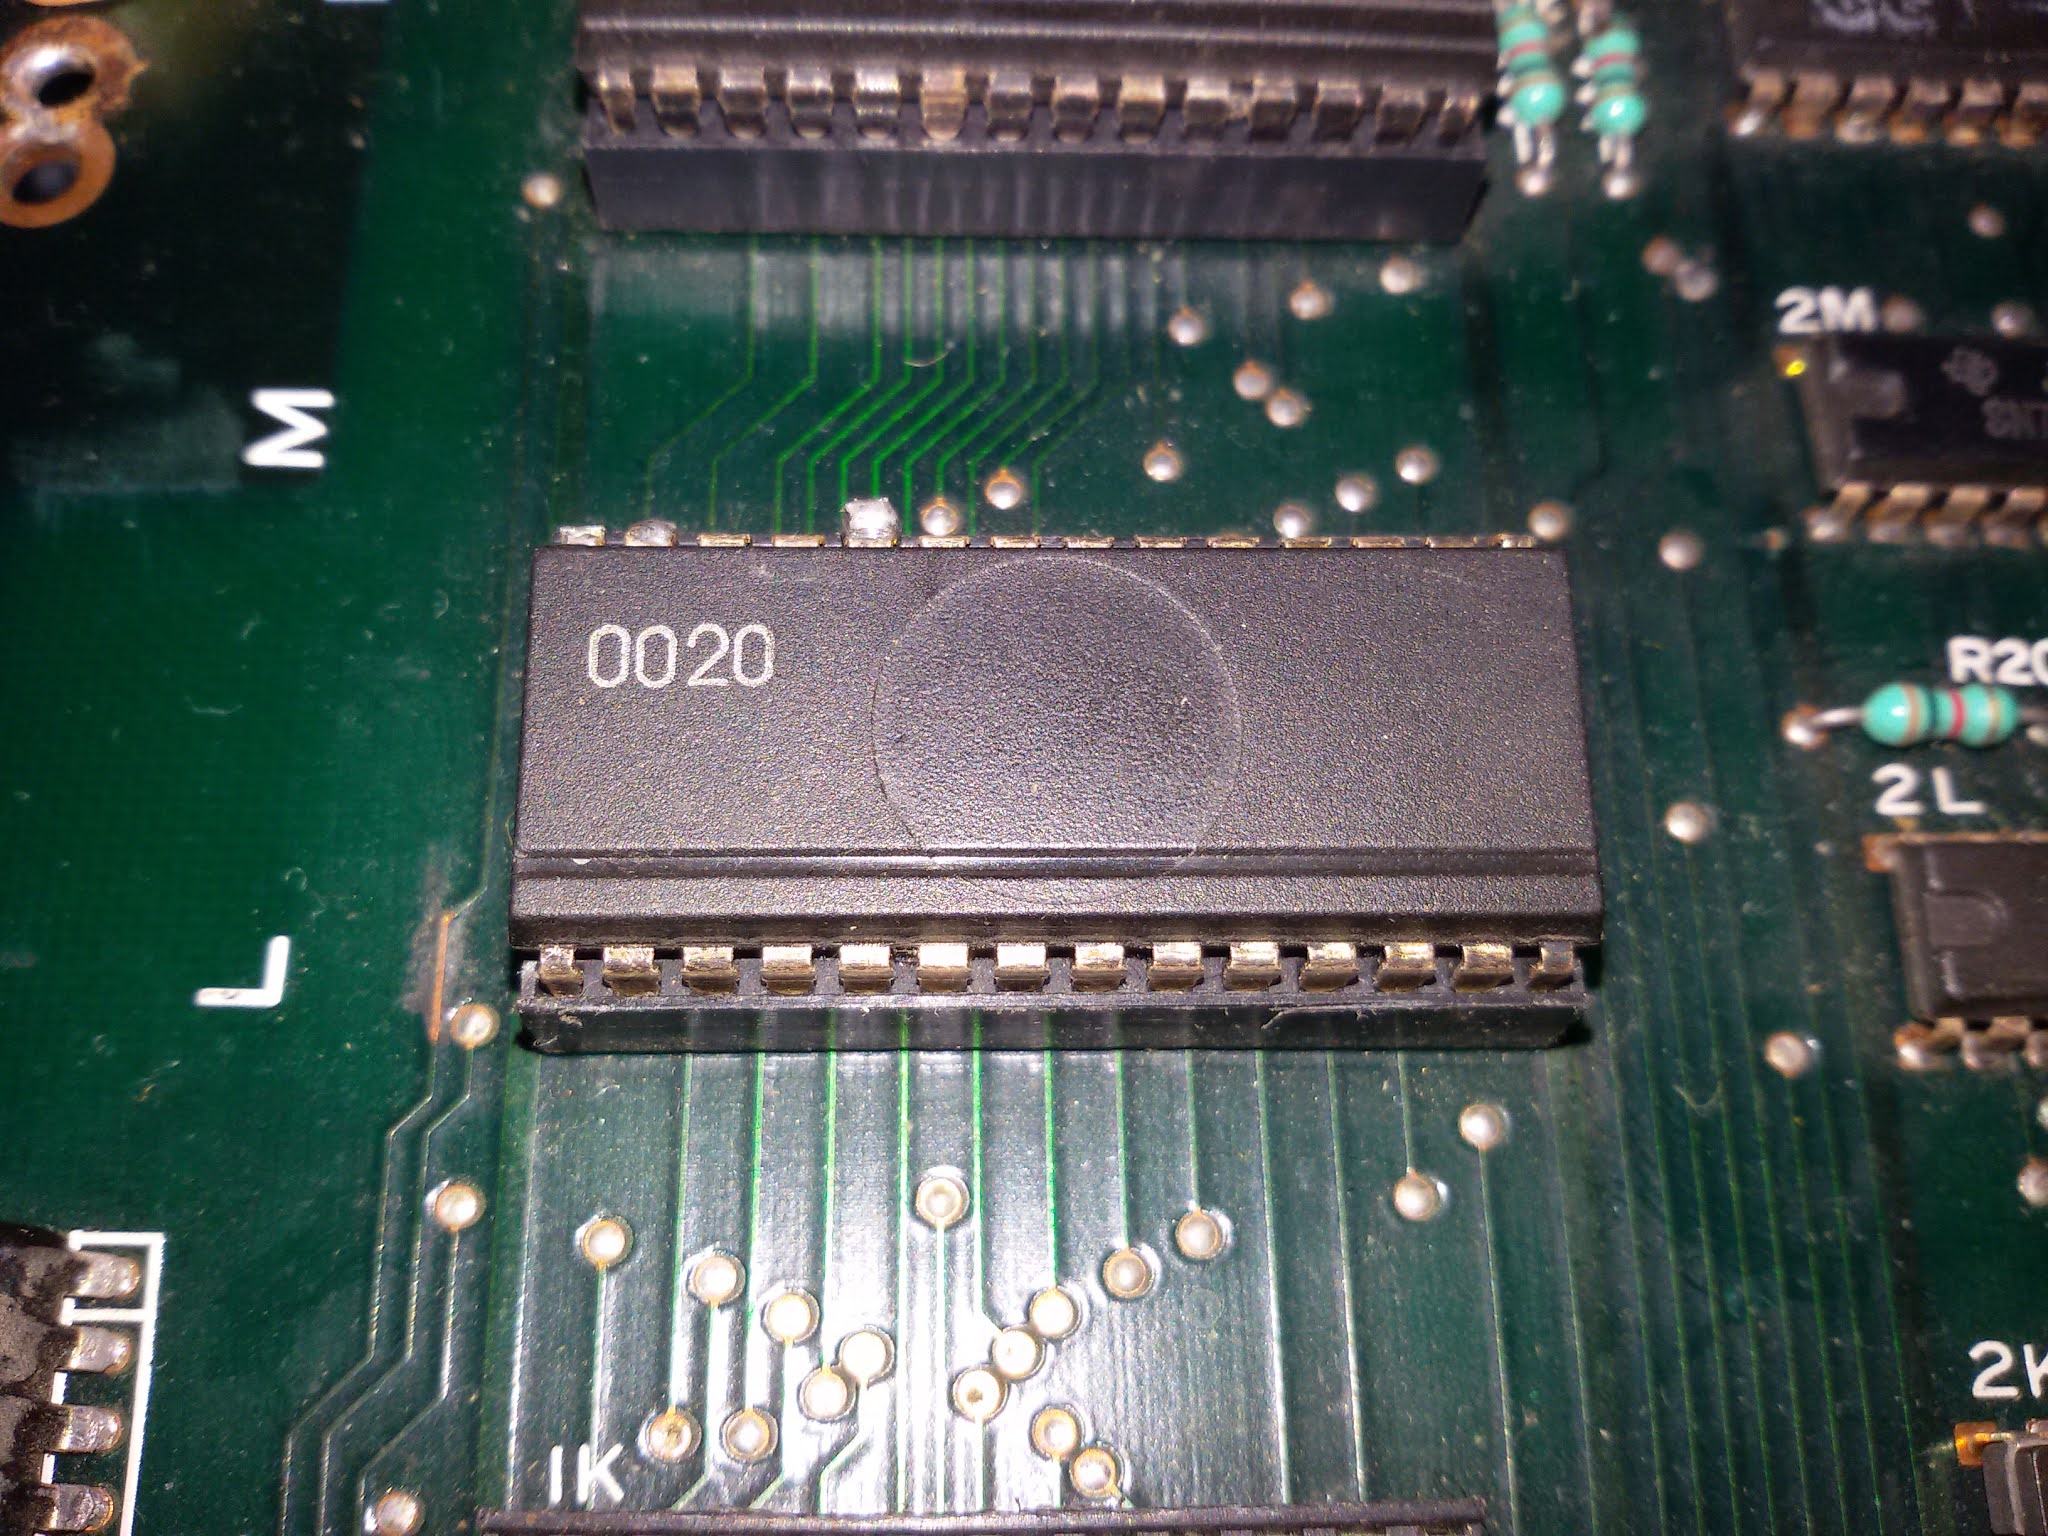
 This chip is, indeed, the custom MCU with Bub silkscreening, here's a picture of it found on the net:

Some years ago this chip has been decapped and internal ROM extracted improving the MAME emulation that used a simulation of the chip behaviour until that moment.You can read more about on the blog of Nicola Salmoria (the original developer of MAME)

http://mamelife.blogspot.com/2006/08/good-news.html

http://mamelife.blogspot.com/2006/08/completed-at-last.html

Thanks to this brilliant work we know now that the Taito 'PS4' custom IC is a Motorola 6801U4 MCU in disguise with some additional features.Since the internal ROM was dumped the only chance to repair my board was to get a chip and program it with MAME dump.Sadly I found no MC6801U4 around but only MC68701U4 which is pin to pin compatible.The chip arrived and thanks to one of my programmers I was able to program it with the file in the MAME ROM set :

With MCU installed the PCB came back to life, the game was fully playable with sound but some parts of graphics were wrong or missing :


All the graphics are generated by the bottom video board :

 Data are stored in 12 27256 EPROMs :


I dumped all of them and did a compare with MAME, two files were unknown as they didn't match any existing ROM sets :


 Trying the bad dumps in MAME exactly reproduced the board issue :

Reprogramming two blank EPROMs fixed the graphics.Playing some games I noticed the sound was quiet also on highest volume setting , I fixed this issue by fully recapping the sound section :

The repair was now complete, board was 100% working but I thought that solution to replace the 'PS4' custom MCU with a MC6801U/MC68701U4 was not accessible to everyone because very few programmer supports this obsolete device.So, I looked for another solution and found that some bootlegs use a little sub-board with a different MCU and some glue logics as replacement of the 'PS4' custom IC.I managed to find such bootleg and did a modern reproduction of this replacement, it worked fine when I tested it :


Another successful repair and another custom IC preserved!

Saturday, 7 August 2021

1943 : Midway Kaisen repair log

Got for repair a 1943 : Midway Kaisen PCB (the japanese release of 1943 - The Battle of Midway).The board, a two stack one, was in good condition :


But according to the owner the PCB lost its sound after he connected it backwards.I had confirm of the issue as soon as I powered the board up :


Using my audio probe I was able to figure out that the lack of sound had a digital nature.Indeed, probing the Z80 audio CPU revealed the /INT line (pin 16) was asserted all the time :

This means a maskable interrupt to the CPU was triggered by an external I/O device.This causes execution to jump to a specific interrupt vector (which is some code at a fixed location) so the CPU was not properly running.

The Z80 CPU was socketed by factory so this was a good chance to fire up my Fluke 9010A troubleshooter and perform some tests.Looking at the sound memory map in MAME source the Z80 RAM lies from 0xc000 to 0xc7ff of the address space of the CPU :

On the board the device is, indeed, a 2K x 8-bit static RAM, specifically a Toshiba TMM2015 which is well known prone to failure :


I set up the Fluke 9010A for a RAM long test which failed at initial address :


This meant the RAM chip was likely bad so I removed it :


The pulled chip failed, indeed, the out-of-circuit testing :


 I fitted a socket and a good RAM chip :

This restored the sound and fixed the board completely.Another successful repair.


Sunday, 11 July 2021

Taito 'PC050CM' reproduction

Recently I've been asked to look at the Taito 'PC050CM' in order to study a replacement.It's another custom IC you can find on arcade PCBs from '80 like Rastan, Rainbow Islands, Operation Wolf, Chuka Taisen, Dr. Toppel Tankenkai, Kuri Kinton, Continental Circus and others.The chip has a SIL28 ceramic package coated by epoxy :

Regarding its functionality, the 'PC050CM' handles coin inputs and counters/lockouts as Rastan schematics shows :


If you encounter a bad 'PC050CM' the board won't boot and you will get an error message on screen:

I took on the task to study a replacement for this chip.First of all I tried to "decap" it but it was useless because there are only bare silicon dies under the coating.So, I used a different approach and tried to reproduce the functions building my guess on previous Taito hardware.I made a design based off the 'PC030CM' which is a similar Taito custom IC which I aready reproduced in the past :

Taito 'PC030CM' reproduction

After some time I came up with a prototype on breadboard that worked fine :


The next step was to route a proper board which I did being careful to respect the dimensions of original part  :


Testing was successful on my boards :


Sunday, 30 May 2021

Metamorphic Force repair log

Got a Metamorphic Force PCB for repair :

The board was in very good overall shape but, when I powered it up, I got only a solid black screen,no video output.Checking with a logic probe the RGB colors revealed they were inactive :

The 68000 main CPU was running so I made some check with a video probe (a simple device that can display data on screen by using one of the RGB colors, in my case I used the GREEN one).I went to touch with the probe the GFX EPROMs and I got parts of graphics displayed on screen :

In this way I was able to figure that out the board was actually alive but playing 'blind' (with no sound, too).The final stage of the RGB colors generation is accomplished by some DACs in form of custom SILs marked '054573' (plus the '054574' that acts as filter/mixer).They converts into analog the digital signals of the '054338' custom ASIC (in QFP160 package) that receives, in turn, the digital bits from the three palette RAMs.

The outputs of the '054338' to the custom SILs were obviously inactive but also many of the inputs were in same state.Looking at Lethal Enforcers II schematics (which run on System GX hardware but shares same design) I figured out the '054338' receives some color bits from the '055555' custom (in QFP208 package) :

On schematics these signals are labeled 'PCOL' :

Probing them revealed they were all stuck so likely the chip was faulty.Having some spare I decided to replace it :


 The spare was soldered and area was cleaned from flux :


At power up I was finally greeted by the POST screen, the '055555' was really bad :


Board successfully booted, game was fully playable but, as previously said, the sound was missing at all :


Obviously my first suspicions fell on the '054986A' hybrid audio module which was in rough state :

I could have tried to replace the electrolytic capacitors on top but I settled things once and for all and opted to replace it with a reproduction of mine.The original module came off quite easily using hot air :

The reproduction was installed on a pair of header pin strips :

This gave sound back to this cool game.Board 100% fixed and another repair successfully accomplished.


Friday, 28 May 2021

'The Thing' - a FM Towns Marty FDD emulator

Some years I made some work on the Fujitsu FM Towns Marty, a home video game console released in 1993 by Fujitsu, exclusively for the Japanese market.Specifically I found the way to use a FDD emulator (HxC or Gotek) with this console, you can read my past article here :

Using the HxC Floppy Emulator with a Fujitsu FM Towns Marty

At same time I also designed a simple adapter to connect an HxC floppy emulator (or a real 3-MODE floppy drive) to the FM Towns Marty :

The adapter was really popular among enthusiasts (to the point that someone cloned it...) but it was not an immediate all-in-one solution.So, recently, I decided to design my own FDD emulator for the Marty console.I called it 'The Thing':


The emulator is based on the Gotek design and powered by the excellent FlashFloppy firmware so fully customizable and configurable (the settings can be specified in a configuration file called placed in the root folder or the USB drive).

Testing of the first prototype was successful, the emulator properly loads and format disk images :


Stay tuned for further update.

Saturday, 1 May 2021

Irem 'KNA70H015(11)' and 'KNA70H016(12)' reproduction

Recently I have been working on reproducing the custom chips found on Irem M72/M82/M84 hardware.

Often these chips have scratched-off part number (especially in later hardware like M82/84) but on my R-Type PCB (M72) they were visible so I started my work with the 'KNA70H015(11)' (SDIP64) and 'KNA70H016(12)' (DIP48)


Functions of these chips are not really clear due to scarce info available, we have only the pinout from schematics so I studied them at 'low level" looking at previous hardware and trying to guess their functions.TTL thru-hole prototypes were done after some time :

Testing of both prototypes was successful on different boards :


This achievement opens obviously the way to implement the equivalent circuit on complex programmable logics for proper replacement of the original chip as well as making possible a multi board or a FPGA emulation.Stay tuned for further updates about reverse engineering of the other Irem custom chips.

Thursday, 29 April 2021

Seibu 'SEI80BU' reproduction

The 'SEI80BU'  (silkscreened on PCB as 'SEI0080BU' or simply '80') is a custom chip found on some Seibu Kaihatsu arcade PCBs like Toki, Cabal, Dynamite Duke, Raiden (encrypted version) and few others.

It comes in a SDIP42 package :

The chip is part of what is commonly referred as "Seibu Sound System" along with a Z80A, a YM3812, a YM3931 and an Oki MSM6295 or a MSM5205.

MAME emulates the 'SEI80BU' defining it as 'Encrypted Z80 Interface'.Anyway, the first thing to do when reproducing a chip is obtaining the pinout and, possibly, the direction of each pin.No other info were available so first of all I traced the connections of the chip on my PCBs and figured out it does more, acting as a clock divider too.Doing some prototyping on breadboard I was able to reproduce these functions quite easily.

Anyway, as said, the main role of the 'SEI80BU'  is to provide a decryption engine of Z80 sound CPU code (performing some data bits swap)

I don't have high programming skills (I'm mainly an hardware guy) so I asked my friend 'uchopon' (a skilled coder with a huge knowledge of arcade hardware) for some help.After few time he provided code of the encryption engine to be programmed in a complex programmable logic.I routed a board in which I implemented both the decryption engine (embedded in a small CPLD) and the clock dividing circuit.This was the result :

Usually CPLD based replacements need to be tweaked because of timing incompatibility with the hosting hardware but in this case I was really surprised the reproduction worked perfectly on first try!

Here's testing on my Cabal and Toki PCBs:


Another custom IC preserved.Thanks again to my friend 'uchopon' for his invaluable help!

Sunday, 11 April 2021

Namco '00xx' reproduction

Here's another custom IC I recently reproduced.It's the Namco '00xx', the video RAM addresser (basically the same as Pacman's "284" VRAM Addresser) used on :

  • Dig Dug
  • Galaga
  • Super Pac-Man

Original custom IC come in  DIP28 600 mil package with stamped number of four digits (but the 3rd and 4th digits can vary because they actually refers to the lot/date production hence the first two digits really matters) :


I made a TTL thru-hole prototype board :

It worked fine on first try.Here's successful testing on a Galaga PCB :


Next step will be a surface mounted TTL or CPLD based version, stay tuned!

Tuesday, 23 March 2021

Konami '056747' reproduction

The '056747' is another hybrid audio module found on Konami PCBs of the 90s.It shares the same ceramic package of the "brothers" '054986A' and '054544' :

But it has a different design of the analog circuit (the '054321' ASIC is still present as 'core' of the digital circuit).Personally I've seen it only on few PCBs like Run & Gun, Gaiapolis, Monster Maulers :


Although the different design his functionality is exactly the same of the '054986A' so both are fully interchangeable.I thought it was a good thing to reproduce it in order to have another replacement option for these such a fragile parts :


 Testing on a Lethal Enforcers PCB :

Monday, 1 March 2021

Toaplan 'GXC-0x' reproduction

The 'GXC-0x' (where 'x' suffix can be 1, 2,3, or 4) is a custom IC in DIP40 package found on some Taito/Toaplan arcade PCBs and used as protection :


As you can see from above pictures the chip has three rows of markings but only the first two matters so the ICs with same first two rows but different third one are actually interchangeable.Here's the board list and labelling of each revision of the chip (info taken from MAME source)


Electronically speaking it's a TMS320C010 DSP co-processor in disguise with internal MASK ROM.Recently the internal code has been dumped from all revisions and added to MAME, you can read more about here :

Extracting the elusive TMS32010 mask ROM  

This achievement opened the way for possible replacements of this custom IC simply using a not windowed/not erasable version of TMS320C10 and having it execute the code from an external memory.Here, for example, one made recently :

Toaplan/Taito GXC-0x MCU replacement

For my reproduction I decided to adopt a different design using a single ROM to store the external code of the MCU (instead of having two ROMs with deinterleaved lower and upper bytes), this allowed me to obtain a smaller and compact board :

Like other replacements you can set via dispwitches the desidered MCU accordingly to the one used by the PCB. Here's testing of the reproduction on different boards :
 
Set as 'GXC-02' on Wardner/Pyros PCB :


 Set as 'GXC-03' on Kyuukyoku Tiger PCB :


 Set as 'GXC-04' on Twin Cobra PCB:


Set as 'GXC-04' on Demon's World/Horror Story PCB:


Saturday, 27 February 2021

Fujitsu 'MB112S146' reproduction

Recently I made a reproduction of the Fujitsu 'MB112S146'.As far as I know this custom IC is used on few Taito arcade PCBs like Arkanoid (which uses two of them) and Legend of Kage.It's a DIP28 .600mil chip having the main function of graphics shifter :

Actually we already have a working replacement of the Fujitsu 'MB112S146' designed by 'Porchy' from JAMMArcade, time ago he successfully recreated and implemented the functions of this IC into a CPLD :

Taito MB112S146 custom reproduction

As for me, I reproduced  it in a 'poor' way using simple TTL gates instead of programmable logic devices :


Testing was successful on my Arkanoid PCB :